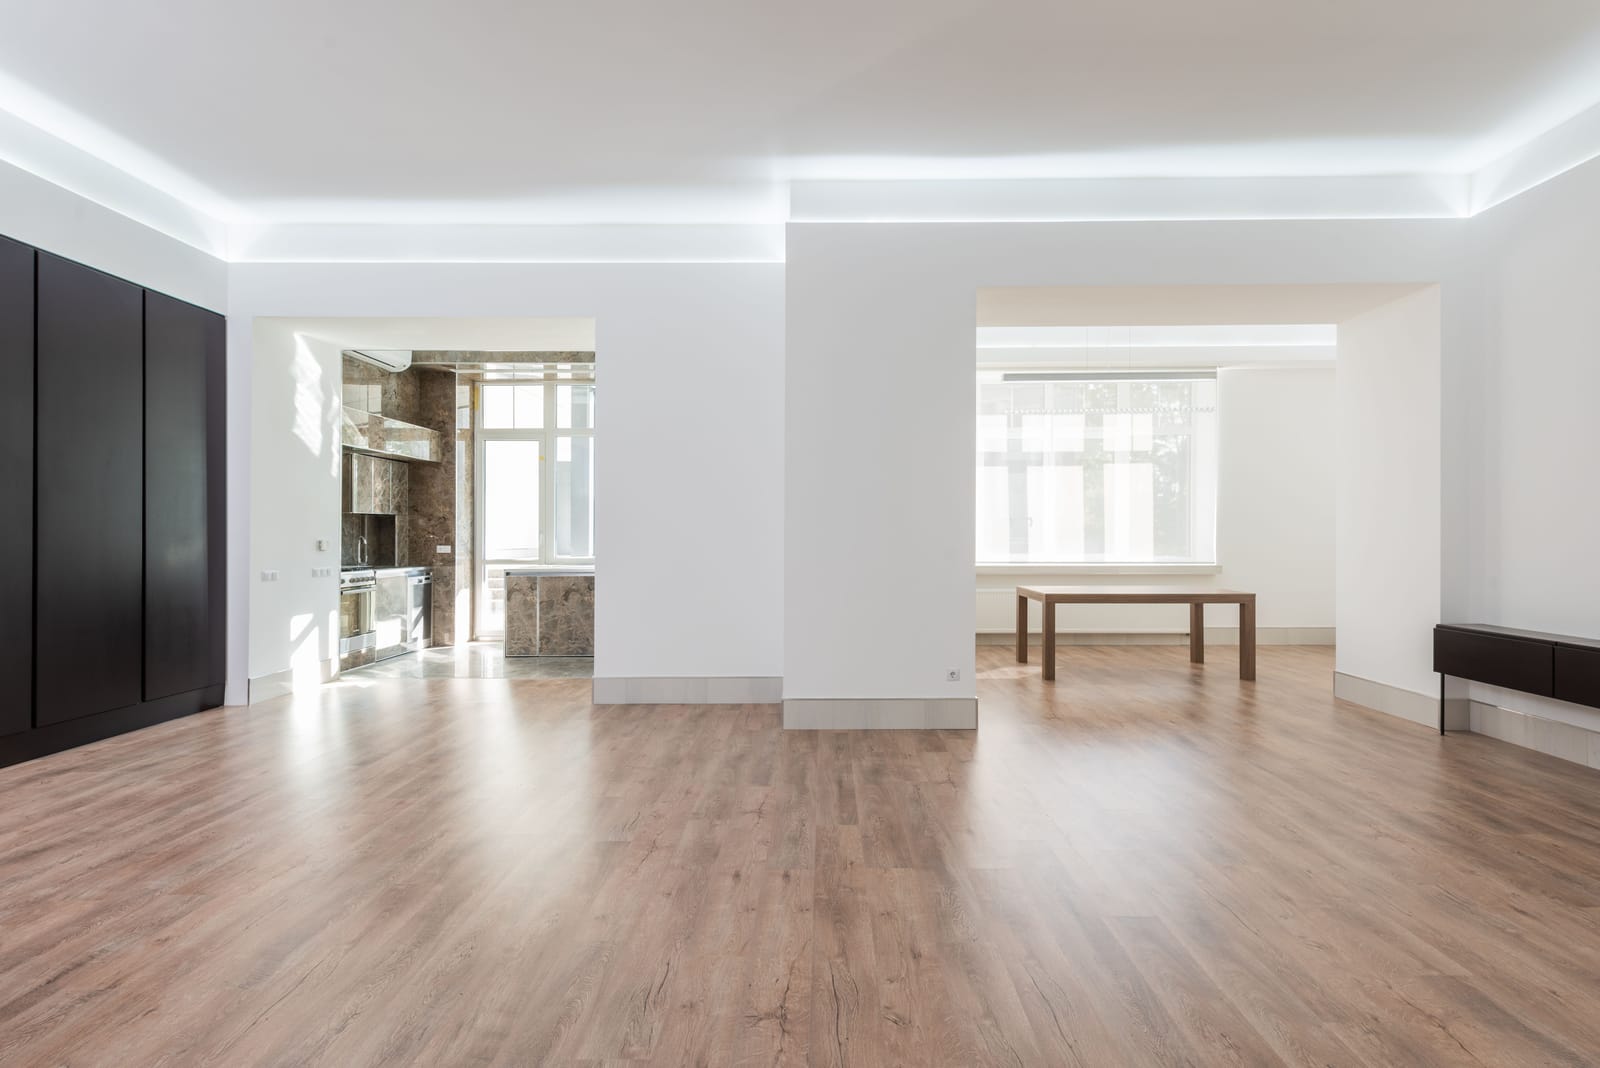
Most flooring regrets are not about the product. They trace back to a handful of avoidable installation mistakes that lead to gaps, squeaks, cupping, and floors that fail years too early. The good news is that every one of them is preventable.
Whether you are hiring a contractor or considering a DIY project, knowing these common wood flooring installation mistakes helps you ask the right questions and protect your investment. This is what goes wrong in Las Vegas homes and how to make sure your floor is done right.
Skipping Moisture Testing
On a concrete slab, moisture can move up from below and damage a wood floor over time. Skipping moisture testing is one of the most damaging mistakes, because problems may not appear until months later.
A proper installation tests slab moisture and uses appropriate vapor management before any flooring goes down.
Ignoring Subfloor Prep
The subfloor is what makes or breaks a floor. High spots, dips, debris, and cracks all telegraph through the finished surface and can cause movement and squeaks.
Cutting corners on subfloor prep is the single most common reason floors fail early. Proper cleaning, repair, and leveling is non-negotiable.
No Acclimation
Wood and many wood-look products need to acclimate to a home's indoor conditions before installation. In the dry Las Vegas climate, skipping acclimation is a recipe for gaps and movement after the floor is down.
A careful installer delivers material in advance and lets it adjust rather than rushing it straight from the warehouse onto the slab.
Wrong Expansion Gaps
Floors need room to expand and contract, and that movement is managed with expansion gaps around the perimeter. Too little gap can cause buckling, while sloppy gaps look unfinished.
Correct expansion spacing, hidden neatly under baseboards or trim, is a basic but essential detail.
Poor Layout Planning
Layout affects both looks and durability. Starting in the wrong place, failing to plan plank direction, or ending with thin slivers at a wall all signal rushed work.
Thoughtful layout planning makes a floor look intentional and flow correctly through open spaces and doorways.
Choosing the Wrong Product for the Room
Installing a moisture-sensitive product in a wet area, or a thin wear layer in a high-traffic space, sets a floor up to fail. Matching the material to how the room is used is part of getting it right.
We steer waterproof products toward kitchens and baths and durable options toward busy areas so the floor suits its environment.
Cutting Corners on Removal
Leaving old adhesive, failing to grind down thinset, or installing over an unsound old floor undermines the new one. Proper removal and a clean base are part of a lasting result.
Rushing the demolition to save time often costs more when the new floor does not sit flat.
Neglecting Transitions and Trim
Transitions between rooms and materials, along with baseboards and shoe molding, are what make a floor look built-in. Skipping or rushing them leaves gaps, trip hazards, and an unfinished appearance.
Clean, level transitions and crisp trim are the finishing touches that complete the job.
Hiring on Price Alone
The lowest quote is tempting, but a price far below the others usually means something is being skipped, often prep, removal, or acclimation. Those are exactly the steps that prevent failure.
The best value is complete, careful work at a fair price, not the cheapest possible number.
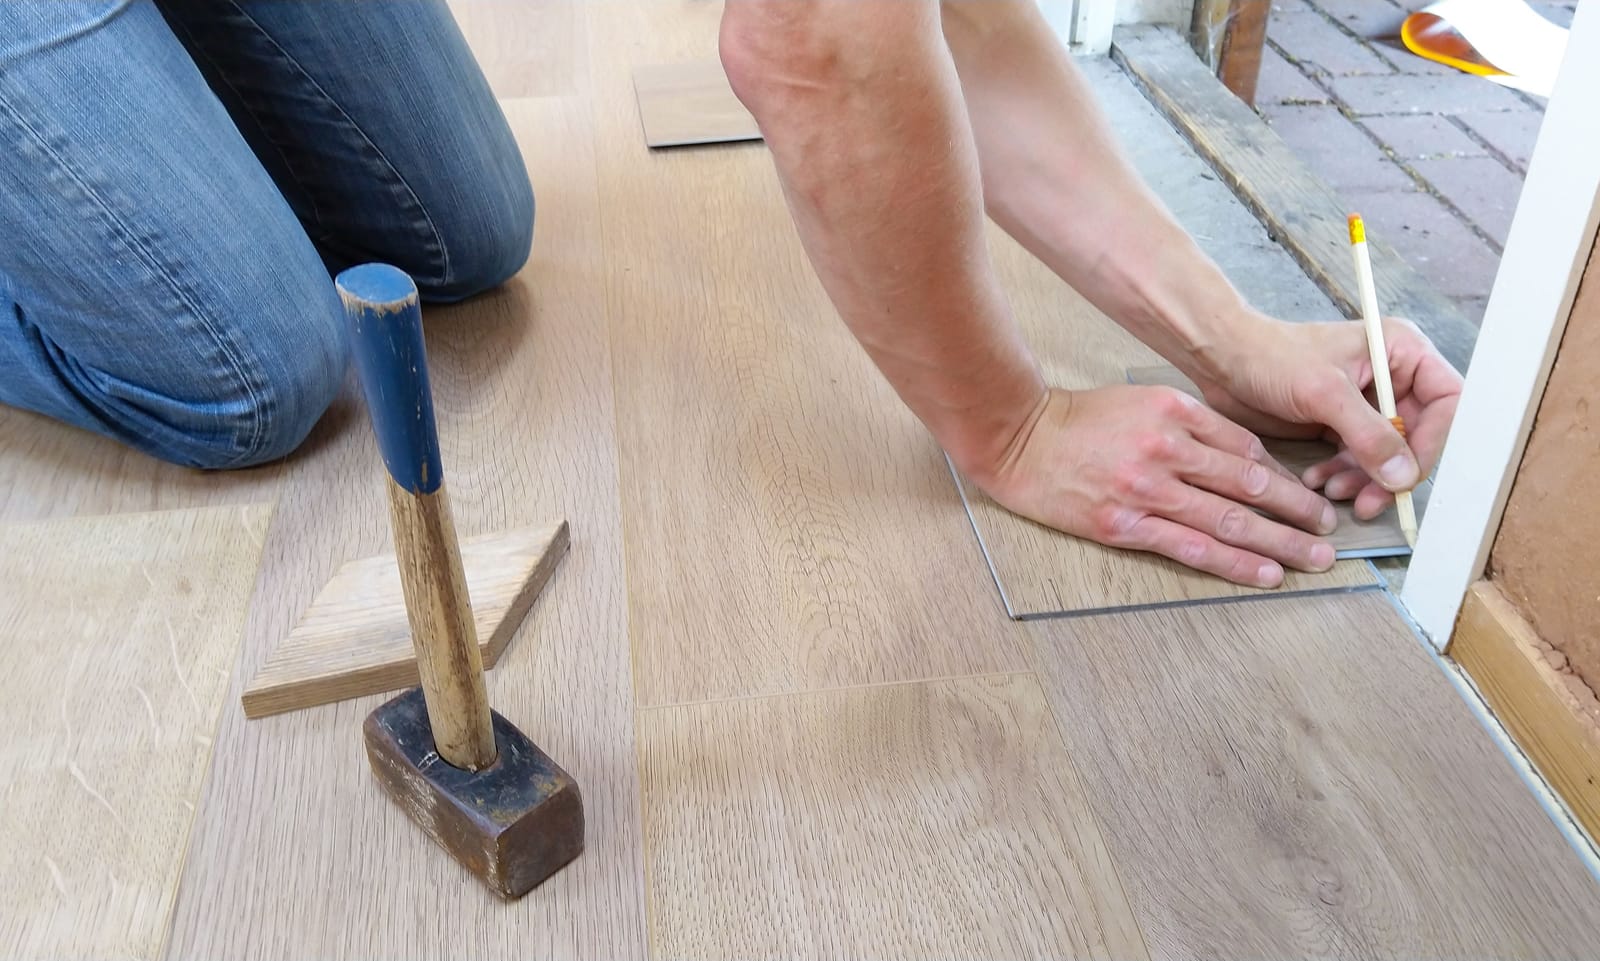
Common DIY Pitfalls
DIY installation can work for simple floating floors, but several pitfalls catch homeowners.
- Underestimating subfloor prep and leveling
- Skipping acclimation in the dry climate
- Setting incorrect or no expansion gaps
- Poor layout that ends in thin edge pieces
- Voiding warranties by not following manufacturer guidance
How to Avoid These Mistakes
The simplest way to avoid every mistake on this list is to work with an experienced local installer who treats the subfloor, acclimation, and finishing details as part of the job, not extras.
If you want a floor done right the first time, request a free estimate or book an appointment and we will walk you through a careful, complete installation.
Mistakes With Stairs and Trim
Stairs and trim are where rushed work shows most. Loose or improperly secured stair treads, missing or unsafe nosing, and sloppy transitions are both unsightly and hazardous.
Skipping baseboards or shoe molding, or cutting corners on transitions between rooms, leaves a floor looking unfinished and can create trip hazards. Clean trim and level transitions are part of a complete job.
Rushing the Timeline
Flooring rewards patience. Rushing through acclimation, prep, or finishing to save a day often creates problems that take far longer to fix. Adhesives and site finishes need proper cure time, and acclimation cannot be skipped in our dry climate.
A realistic timeline that allows each step to be done correctly is one of the best protections against early failure.
Overlooking Sun and Climate
Choosing a floor without accounting for intense desert sun and dry air is a quiet mistake that shows up later as fading or seasonal movement. Sun-exposed rooms benefit from UV-resistant products and window coverings.
Matching the product and finish to the Las Vegas environment, not just the look you want, keeps the floor performing for years.
Why Local Experience Prevents Mistakes
Most of these mistakes come down to experience. A crew that installs floors across Las Vegas, Henderson, and the surrounding communities every day knows how to test slab moisture, acclimate material, and finish the details correctly.
Local know-how is the difference between a floor that simply looks new on day one and one that still looks great years later.
Getting It Right the First Time
The simplest way to avoid every mistake on this list is to work with an experienced installer who treats prep, acclimation, and finishing as core parts of the job rather than extras.
If you want a floor done right the first time, request a free estimate or book an appointment and we will walk you through a careful, complete installation.
Mistakes When Buying the Flooring
Some mistakes happen before installation even begins, at the point of buying the product. Ordering too little material leaves you short mid-project, while ignoring the wear layer or AC rating can mean a floor that wears out far too soon for the room it is in.
Buying purely on looks without considering moisture, traffic, and sun exposure is another common misstep. A beautiful plank in the wrong room is set up to disappoint.
Ordering a little extra for cuts and future repairs, and matching the product spec to the room, prevents these problems and protects your investment from the start.
How a Pre-Installation Walkthrough Prevents Problems
Most installation mistakes are caught before they happen during a thorough pre-installation walkthrough. Measuring carefully, testing the slab, confirming the layout direction, and identifying transition and trim details up front leaves nothing to chance.
This is also when expectations get aligned, from which rooms are off limits to how furniture and appliances will be handled. Clear communication at this stage prevents the misunderstandings that derail projects.
A careful installer treats this planning as part of the job, which is exactly why hiring on experience rather than the lowest price tends to produce the best result.
Mistakes That Show Up Months Later
Some of the most frustrating flooring mistakes do not appear right away. A floor installed without moisture testing or acclimation can look perfect on day one and then develop gaps, cupping, or lifting weeks or months later as it reacts to the dry desert environment.
By the time these problems surface, the cause is hidden under the finished floor, which makes them harder and more expensive to diagnose and correct. Prevention during installation is far cheaper than a fix afterward.
This delayed nature is exactly why the unglamorous steps, moisture testing, acclimation, and subfloor prep, matter so much even though you never see them in the finished product.
The Cost of Doing It Twice
The most expensive floor is the one you have to install twice. When a rushed or under-prepped installation fails, the cost of removing the failed floor, fixing the underlying issue, and reinstalling almost always exceeds what doing it right the first time would have cost.
That is why the lowest bid can be the most expensive choice in the long run. A fair price for complete, careful work protects both your floor and your budget.
Choosing an experienced installer who does not cut corners is the simplest insurance against paying for the same floor more than once.
Frequently Asked Questions
Skipping or rushing subfloor prep. High spots, dips, debris, and moisture issues telegraph through the finished floor and cause gaps, squeaks, and early failure.
Our dry climate makes wood and wood-look products especially prone to movement if they are not acclimated to indoor conditions before installation. Acclimation prevents gaps and cupping.
Simple floating floors can be a DIY project, but mistakes in prep, acclimation, expansion gaps, and layout are costly to fix and can void warranties. Professional installation is usually the better value over a slab.
Hire an experienced local installer who tests moisture, preps and levels the subfloor, acclimates the material, sets proper expansion gaps, and finishes transitions and trim cleanly.
Thinking About New Floors?
Get a free, no-obligation estimate from a local Las Vegas flooring team that does the job right.